Why did Washington cross the Rhine? Why did some guys climb Mount Hood? Why did the chicken cross the road? Because they were there. And guess what, true believers… iPhone 1.1.1 firmware is also there, calling to us all. And so, to save you the trouble, I took the plunge today in an effort to figure out just what the 1.1.1 Jailbreak can do for us all. My conclusion? Not much.
I have an iPhone cracked with iPhoneSimFree and a number of other solutions. I began this process earlier but an untimely update caused a massive failure so I begin again. I “restored” to 1.1.1 and now I will downgrade to 1.0.2 Here is my full list of steps.
UPDATE – Spoiler alert! iTunes Sync now works for some reason. There are far too many “WTF did I do?”‘s in this process to be usable.
1. Because of an errant keypress I had to restore to 1.1.1. This is bad and makes me cry.
2. Held down power and home buttons to go into secret downgrade mode.
With the iPhone turned on, hold down the POWER and HOME buttons
simultaneously for ten seconds (until the screen goes dark). Then release POWER while CONTINUING TO HOLD DOWN HOME for another 15 seconds.At this stage, the iPhone WILL APPEAR TO BE POWERED DOWN, but it is actually in a special type of recovery mode allowing software downgrades. If you
see the “Connect to iTunes” icon, you’ve placed the phone into the wrong
recovery mode, and will need to try again.
3. Downgraded to 1.0.2. Luckily it worked. This process is very nerve-wracking. Be careful and just keep trying until you get to the proper restore mode.
Once iTunes is up, you can now release HOME. You will be prompted to
restore your iPhone (if you are not, try step 2 again). Hold down the
OPTION key (or SHIFT if you’re running Windows) and click RESTORE.
You will then be prompted with a file selection window allowing you to
select a firmware file. Select the ‘iPhone1,1_1.0.2_1C28_Restore.ipsw’
file you downloaded in step 1, and begin the restore.
This takes quite a while. Remember: back this is a software hack. If you end up screwing something up you can always go back to the original. It’s not like you’re soldering anything or jimmying your drive bay door open with a butter knife (two hacks which failed for me miserably on the PS2, BTW)
4. Installed AppTapp. Failed. Installed it again. Happy. Installed SSH and all the goodies. Having trouble installing iPhoneSimFree. Finally got it in there after installing all the BSD goodies. Running iPhoneSimFree in 1.0.2. I’m already unlocked? Wha? Had all kinds of trouble getting activated now. Something is up with lockdownd (MismatchedICCD)?
5. OK. Giving up on reactivating. Just put in the old AT&T SIM and activated it that way. I don’t really have access to the phone part, but I’ll survive for now.
6. Did the symlink hack.
While still connected to iTunes, SSH into your iPhone while still at
version 1.0.2. If you don’t have SSH set up, see STEP 0’s steps four and
five to install OpenSSH.Now execute the following commands:
mv /var/root/Media /var/root/Media.old
ln -s / /var/root/Media
If you plan on activating later using a Non-AT&T SIM (or without iTunes),
you’ll want to back up your existing copy of the lockdownd binary
(we’ll use these later)…
cp /usr/libexec/lockdownd /var/root/lockdownd.1.0.2
7. OK. Rebooting in 1.1.1. Quitting iTunes and trying iPHUC. OK. I’m in. Now to jailbreak it.
We are now going to overwrite part of the disk partition with our payload
using the 2K file included in this distribution called rdisk0s1.
In iphuc, execute this command:putjailbreak rdisk0s1 /dev/rdisk0s1
OK. That was easy. Done. Now to put in the new fstab. OK. I can start uploading SSH and BSD.
8. OK. SSH installed.

The new root password for v1.1.1 is ‘alpine’, once it’s finished.
Alpine! Wha! Oh well.
Installing BSD goodies.
Once you’re in, you will also want to install the BSD world. NerveGas has
built a new version of the BSD subsystem that doesn’t require libarmfp.
Download and extract the following files:http://iphone.natetrue.com/BSD_Base-2.0.tar.gz
http://iphone.natetrue.com/BSD_Extra-2.0.tar.gztar -zvxf BSD_Base-2.0.tar.gz
tar -zvxf BSD_Extra-2.0.tar.gzChange into each of these directories and run:
cd BSD_Base
scp -r * root@[IPHONE IP]:/
cd ../BSD_Extra
scp -r * root@[IPHONE IP]:/
OK. It’s all in place. Very happy.
9. OK. Now to activate using my T-Mo SIM. This is the sad clown part I was dealing with after by 1.0.2 downgrade so hopefully it works.
Now run: ./iASign.mac –automatic iPhoneActivation_private.pem
After a while, it should complete and say “New State: Activated”, but it
doesn’t really work. Don’t worry, we’re almost there!
Scary!
10. Coping lockdownd back.
Now copy the v1.1.1 lockdownd back and restart it:
cp /var/root/lockdownd.1.1.1 /usr/libexec/lockdownd
killall lockdownd
11. Running iASign again…
Oh NOES! It didn’t activate… slide to unlock and…
WOOOOOOOT
1.1.1 is open and ready to roll. Now to install AppTapp… Doable? Nope. Feh. I’m stuck. The thing keeps deactivating itself.
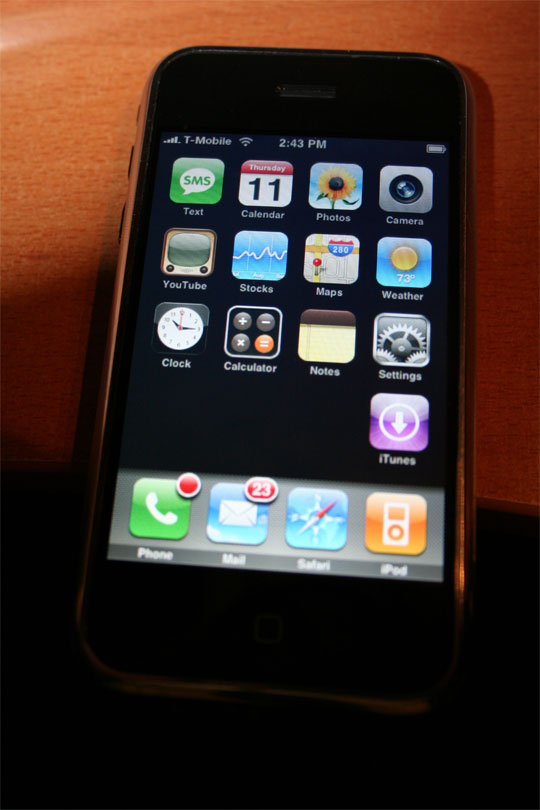
OK. SOMEHOW it worked and is now registered to T-Mobile. I don’t really have third-party apps but I do have the updated firmware running on T-Mobile. Was it worth it?
Well, I spent about three hours playing with the phone and I feel confident this one will stick — as long as I don’t reboot the phone. However, I am missing all the third-party hotness and find this a Phyrric victory at best. iTunes doesn’t like the iPhone right now and it seems to be in some sort of limbo mode between activated and deactivated that works but is far from ideal. My advice right now is to not upgrade. It’s just not worth the “GAH!” factor once you realize how much work it is to keep up the 1.1.1 facade.
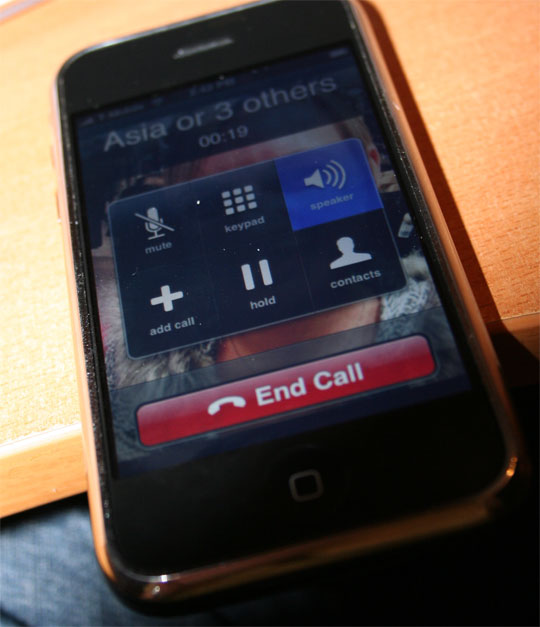
Makin’ calls, takin’ names


Comment