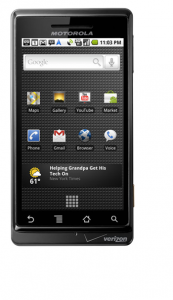
It’s here. It’s finally, finally here. After countless rumor-fueled false starts and delays, the Android 2.1 update has finally started rolling out to Verizon Droid owners.
Unfortunately, it’s only been rolled out to around 8,000 Droids at this point — and considering that there are purportedly at least a million of these things floating around, that means the majority of people are still waiting for their update. Are you one of them? Fear not, friend! We’ve got all the details on how to manually update your Droid to the official, Verizon-and-Google-blessed build of Android 2.1.
All in all, it should take you about 10 minutes. There is no “hacking” required – your device doesn’t need to be rooted, overclocked, underpantsed, or what have you. This is the same package you’d be downloading from Verizon (it even comes from Google’s server!), just a whole lot sooner.
Here’s how to do it:
- Download the update package from here. Don’t unzip it! If your browser automatically unzips things (like Safari on Mac, for example), use a different browser. It MUST stay zipped.
- Rename the file from signed-voles-ESE81-from-ESD56.fa406da6.zip to update.zip. If you’re using an OS that doesn’t show the .zip extension, just rename it “update” — otherwise it’ll be called “update.zip.zip” and won’t work.
- Take the microSD card from your phone, plug it into a microSD card reader.
- Drag and drop the “update.zip” file into the main folder (otherwise known as the root folder) of your microSD card. Don’t go looking for a folder called “main” or “root” – we’re referring to the folder on your microSD card that holds all the other folders.
- Turn your Droid off, and put the microSD card back in.
- Hold down the letter “X” on the keyboard. While still holding it, turn your Droid back on. You should see an exclamation point icon appear on your screen.
- Push the volume up button and the camera button at the exact same time. If nothing happens, do it again. When you get to the bootloader screen, you know it worked. (Some folks are reporting that you need to hold the volume up button and then tap the camera button right after. It’s a bit tricky, but it’ll work eventually.)
- Use the d-pad to navigate to the “apply: update.zip” option, and choose the file you just dragged onto your microSD card.
Bam! Download, rename, reboot, hold a button, done. Could it get much simpler? As soon as the upgrade process finishes, you’ll be Android 2.1’d up and ready to go.
Enjoy!
[Much love to the guys at AllDroid for digging up the update file name, and to Nikolai for giving us the heads up]