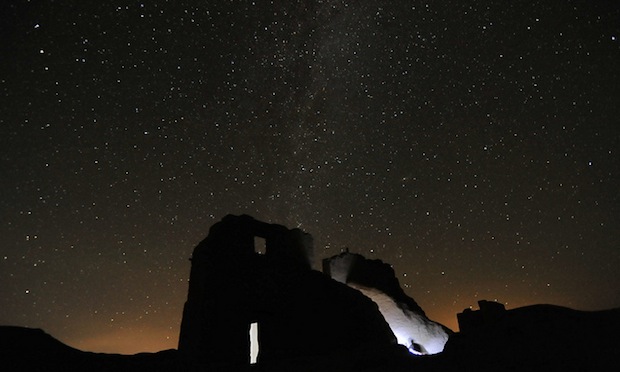
 Taking pictures of the night sky can be a rewarding and frustrating experience. The good news is it’s easy to do, if you have the right tools and the knowledge needed to get that amazing shot of the stars. It’s taken me about 2 years of infrequent trips in the cold to get that perfect shot – let me help you learn a bit without experiencing my frustration.
Equipment: First thing, you need the right equipment. At bare minimum you’re going to need a tripod (or a GorillaPod), and it’s best if you have a remote trigger for your shutter. Depending on the brand and model, you might be able to get an IR remote, but most likely you’ll have to buy a wired version. There are several different models available to you, from the basic push-button shutter release, to the more advanced triggers with their own built-in intervalometers. After that, it’s just a case of what camera. Ideally, you’ll have a DSLR with good low light performance and a built in interval timer. Newer DSLRs with bigger sensors have been pushing the noise floor down, so that’s one more reason to upgrade. At minimum you’ll need a camera on which you can control the ISO, F-Stop, and exposure time. We just recommended a few here.
Conditions: Catching the ideal weather can be tricky. You don’t want a full moon, and obviously overcast weather is not your friend. A little high clouds can be okay, and provide some visual interest, but you don’t want too much or it will ruin your night. The moon is your biggest enemy. The amount of light that the moon reflects into the night sky is not to be underestimated, and can wash out up to 75% of your stars, so check the phase and plan your shooting schedule accordingly. Ideally you want a dark night with minimal clouds, and as little light pollution as possible. And don’t forget that it’s darkest halfway between sunrise and sunset (usually somewhat after midnight). “It’s always darkest just before the dawn” is good life advice, but bad photography advice.
Camera Settings: This is where things get tricky, and you may have to experiment a bit on your own. It also depends on the type of shot you’re going for. If you want a basic shot with no star streaking, you’ll need to do a high ISO, open F-stop (or closed up a bit if open is soft on your lens), 20-30 second exposure. You’ll want to use your fastest lens, so it’ll gather the most light possible with your exposure. If you want star trails you’ll absolutely need a wired trigger release, and set your camera to “Bulb”. This means that the shutter will stay open as long as you hold the release button down. Turn your ISO down for streaks, as you’ll be gathering more light though the longer exposure time, which can translate to noise. But these are just guidelines; in the end, each situation and night requires slightly different exposure settings, so experiment!

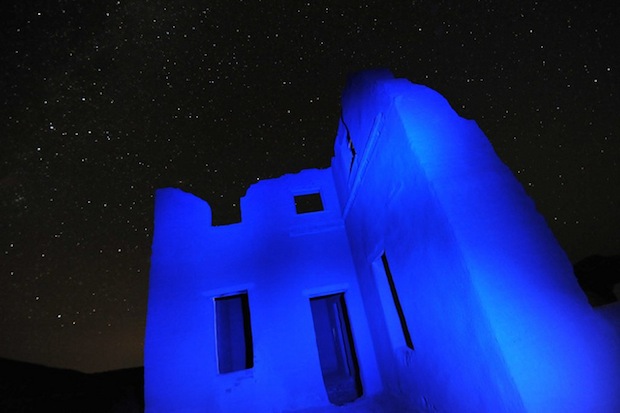
Composition: Shots of the sky are fine and good, but without something else to provide a sense of scale, even the most amazing shot of the stars can be boring. It’s important to provide something else to feed the eye along with your galaxy pictures. What I try to do is bring some trees in, or have a rock formation in the foreground or the side of the shot. Living in Nevada gives me access to some striking vistas, and if you look around you, you’ll probably find a few worth shooting, too. Another thing to consider is highlighting the feature you bring into the shot. I’ve got some amazing pictures using a long exposure and a flashlight with a blue piece of plastic over the lens. Try to shine the light evenly over the surface of whatever you are lighting, otherwise you’ll end up with hot spots and it won’t look right. Working with a partner who can operate the camera and adjust the exposure can be liberating.
Hopefully this will help get you started on the path to some neat star pictures. I know I’ve enjoyed taking night pictures, and I hope you will too. Here are a few I’ve taken over the years:
http://www.flickr.com/apps/slideshow/show.swf?v=71649
Do you have any other tips or questions? Leave them in the comments and we’ll answer or include them. Night photography is kind of a scene, so links to your favorite communities and resources are totally welcome.
